Money Smarts Blog
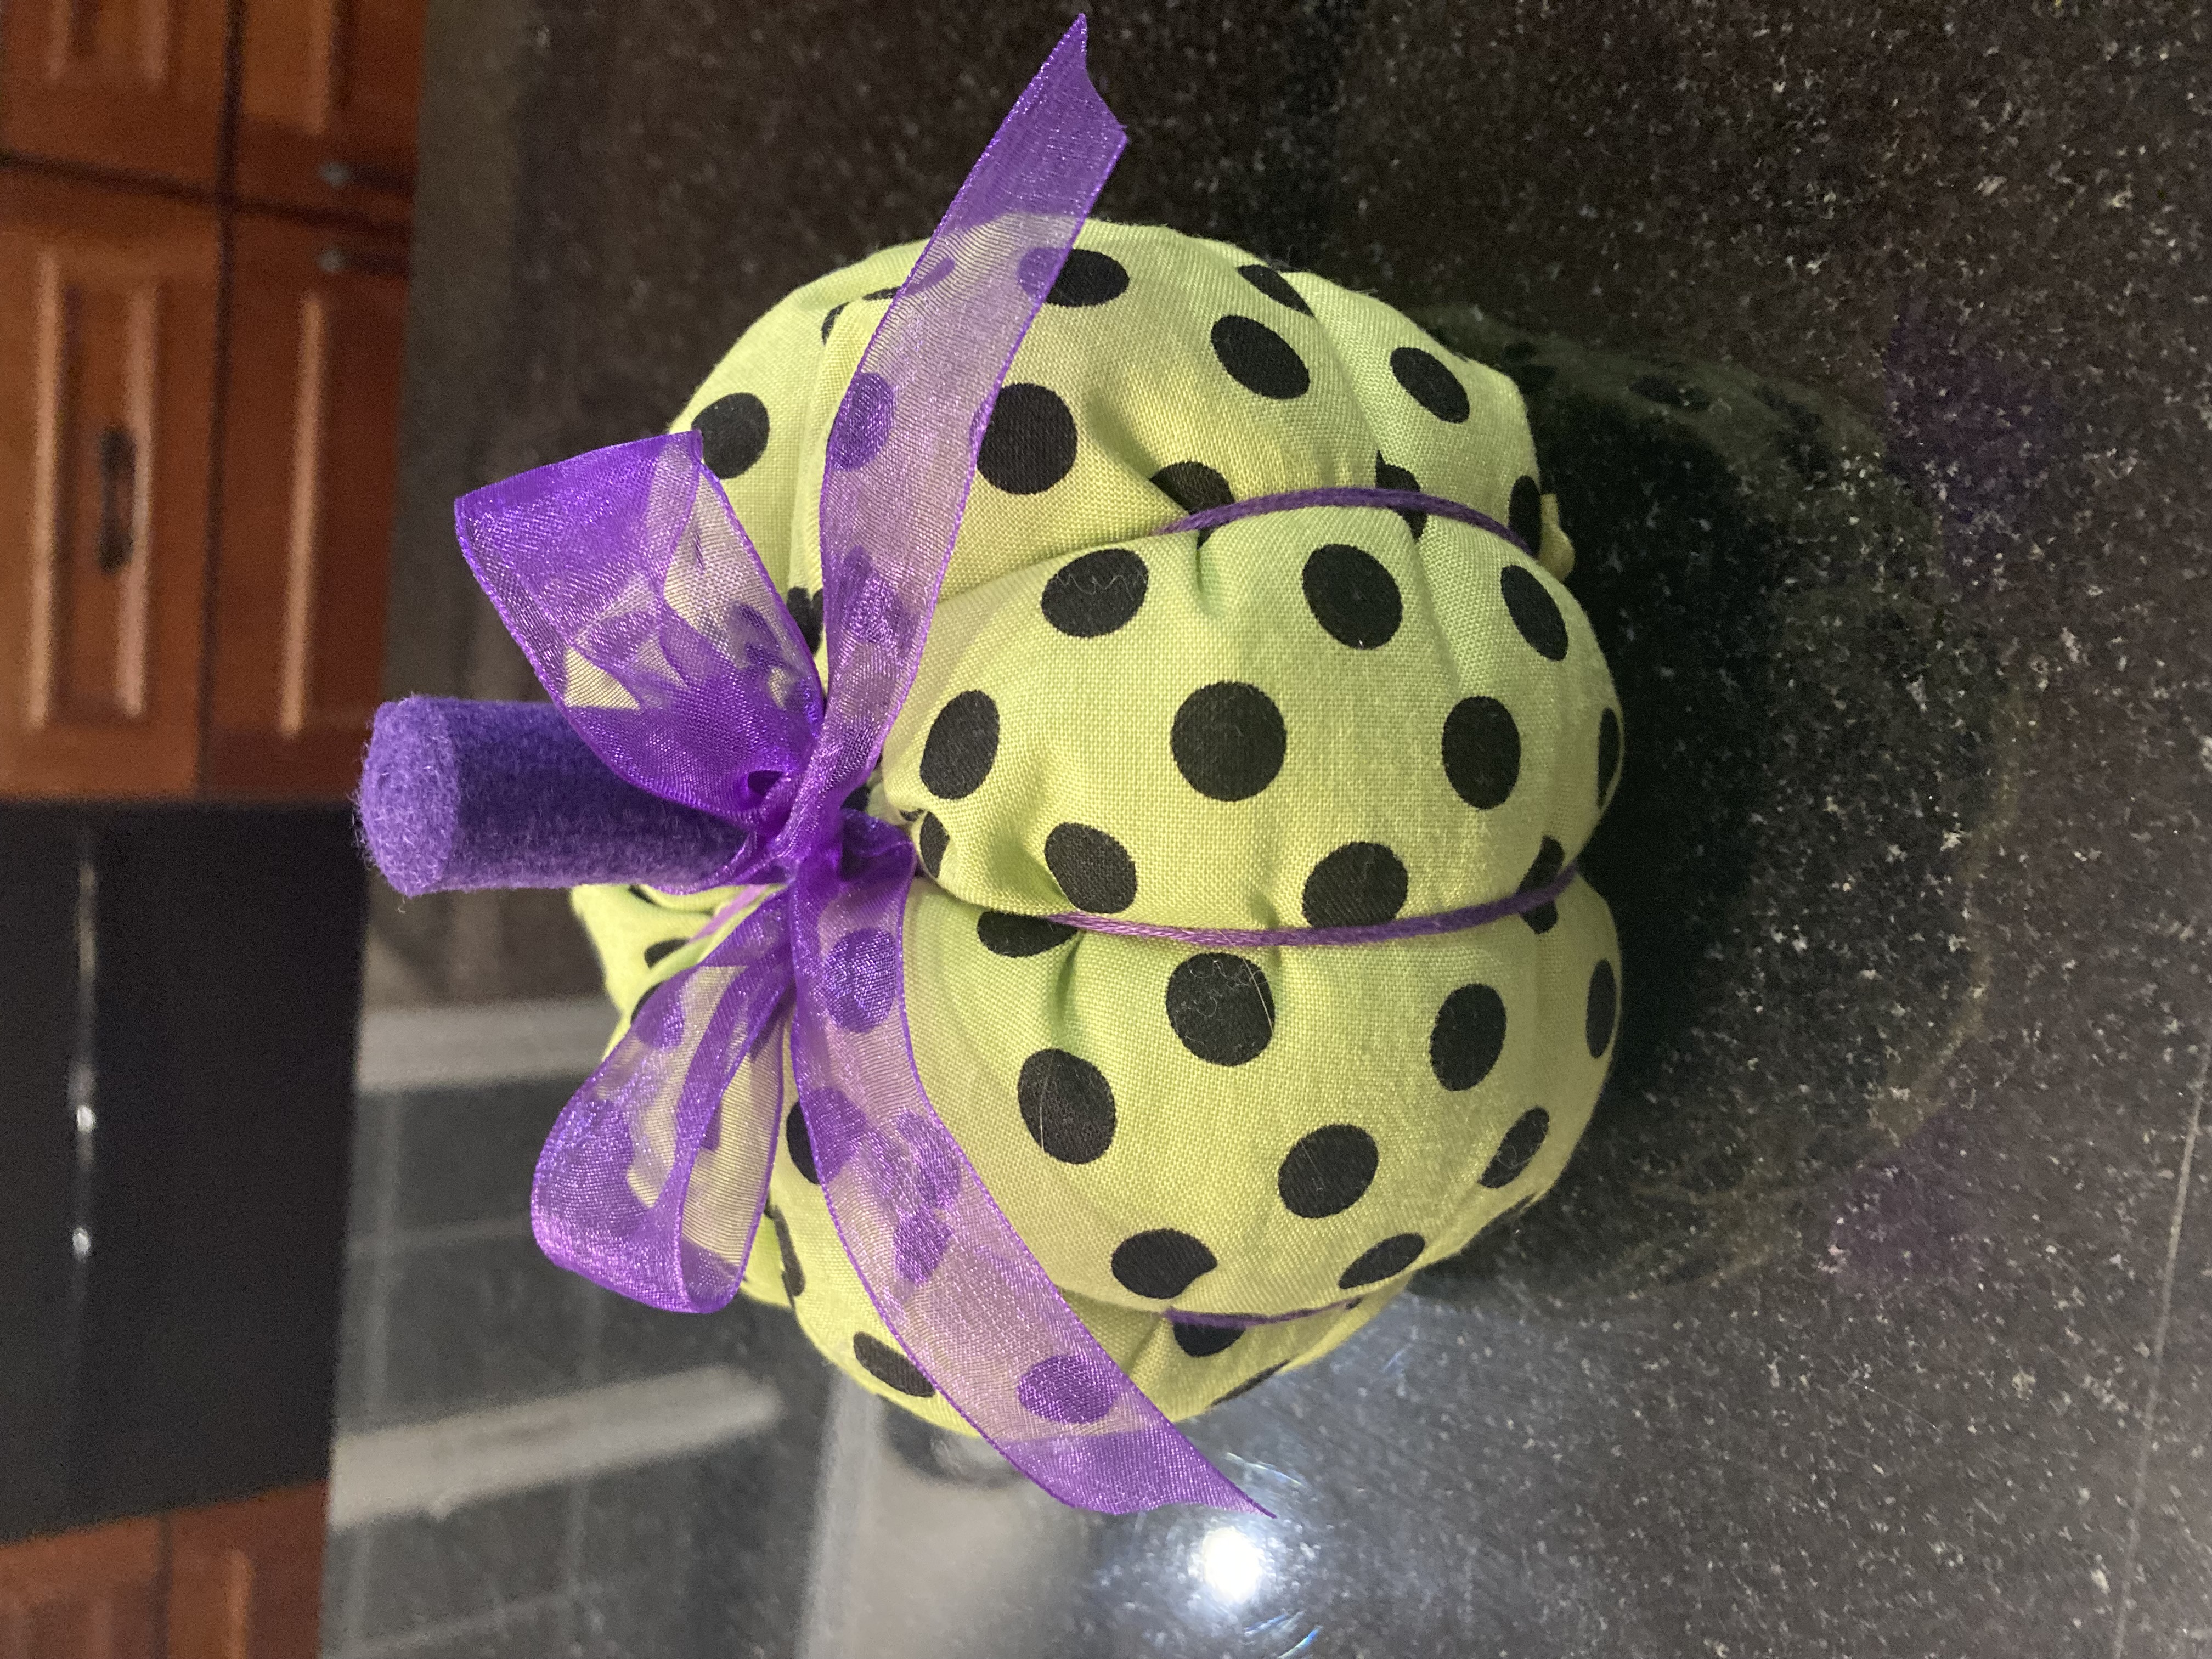
Let's get crafty: Fall fabric pumpkin tutorial
Sep 24, 2021 || IHMVCU

If you’re any kind of crafter, maker or quilter, you’ve probably got more fabric scraps than you know what to do with. Well, we've got a solution for them!
Whipping up these fabric pumpkins is easy as pumpkin pie. Whether they’re big, small, coordinated or delightfully mismatched, these cute little pumpkins will look great on your autumn mantle or in a festive tiered tray display.
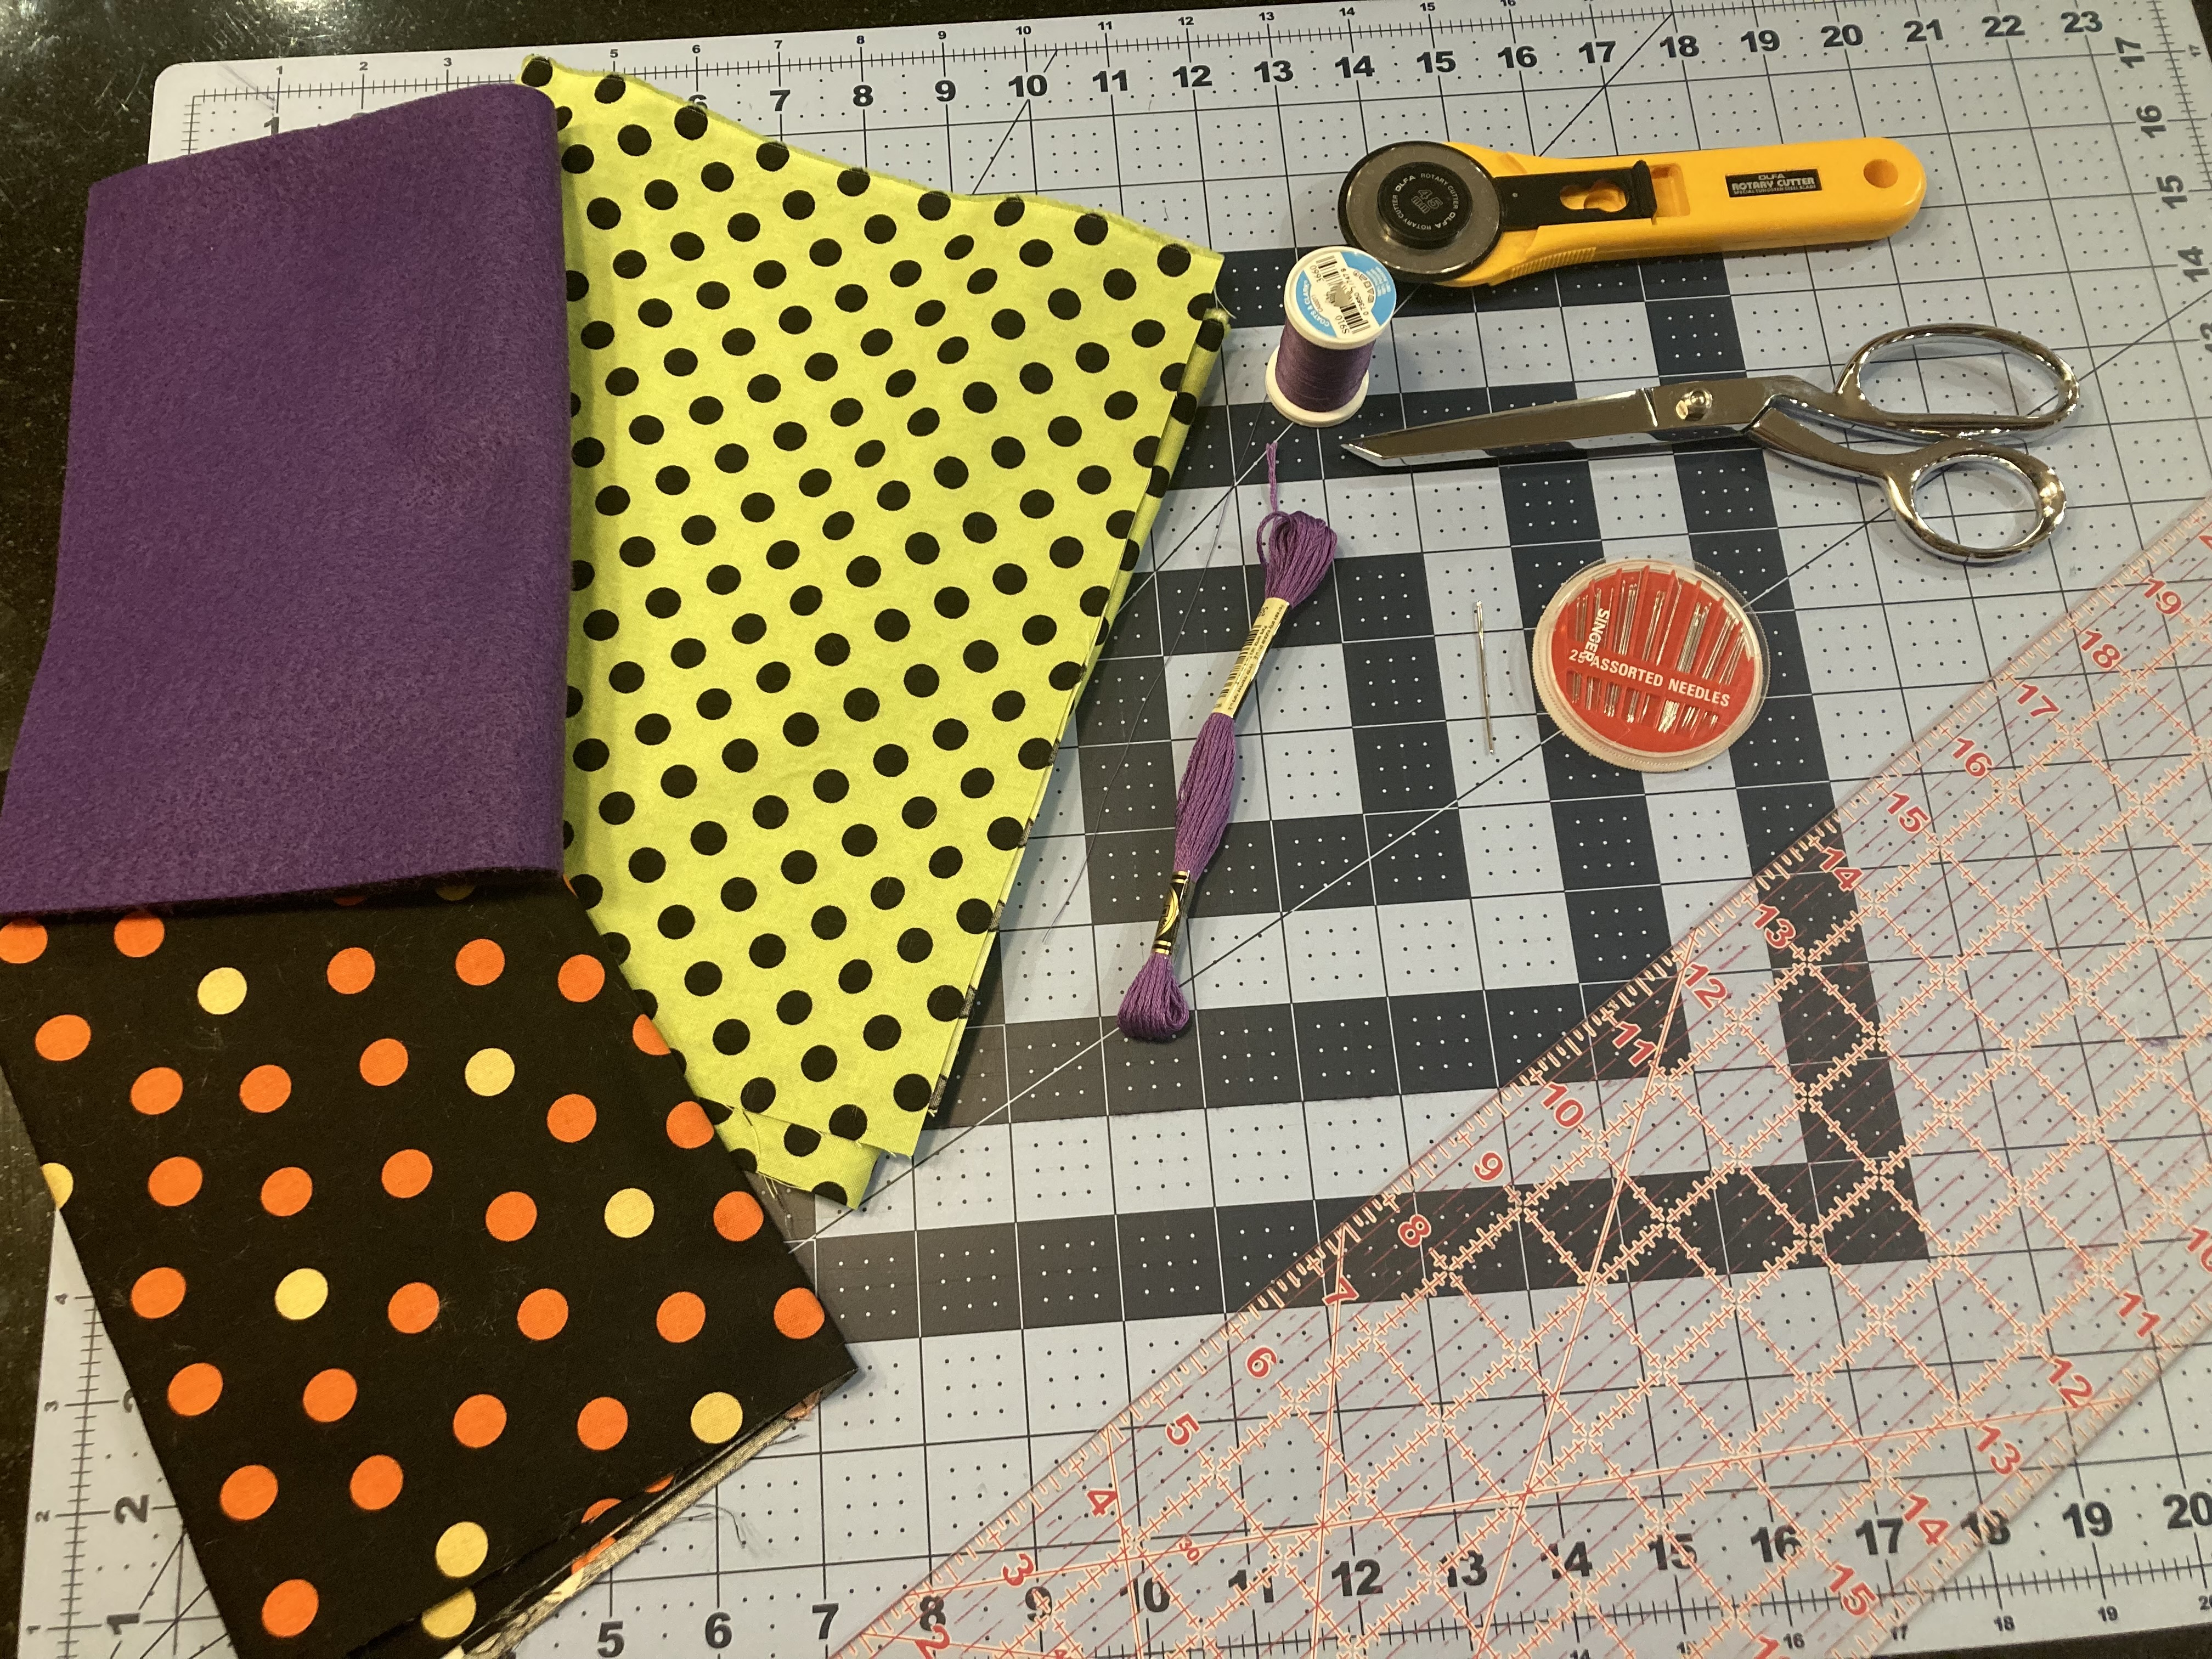
Here's what you'll need:
- ¼ yard or fat quarter of fabric
- Felt
- Scissors
- Stuffing
- Long needle
- Thread
- Floss
- Ruler
- Glue gun
- Optional: ribbon or embellishments
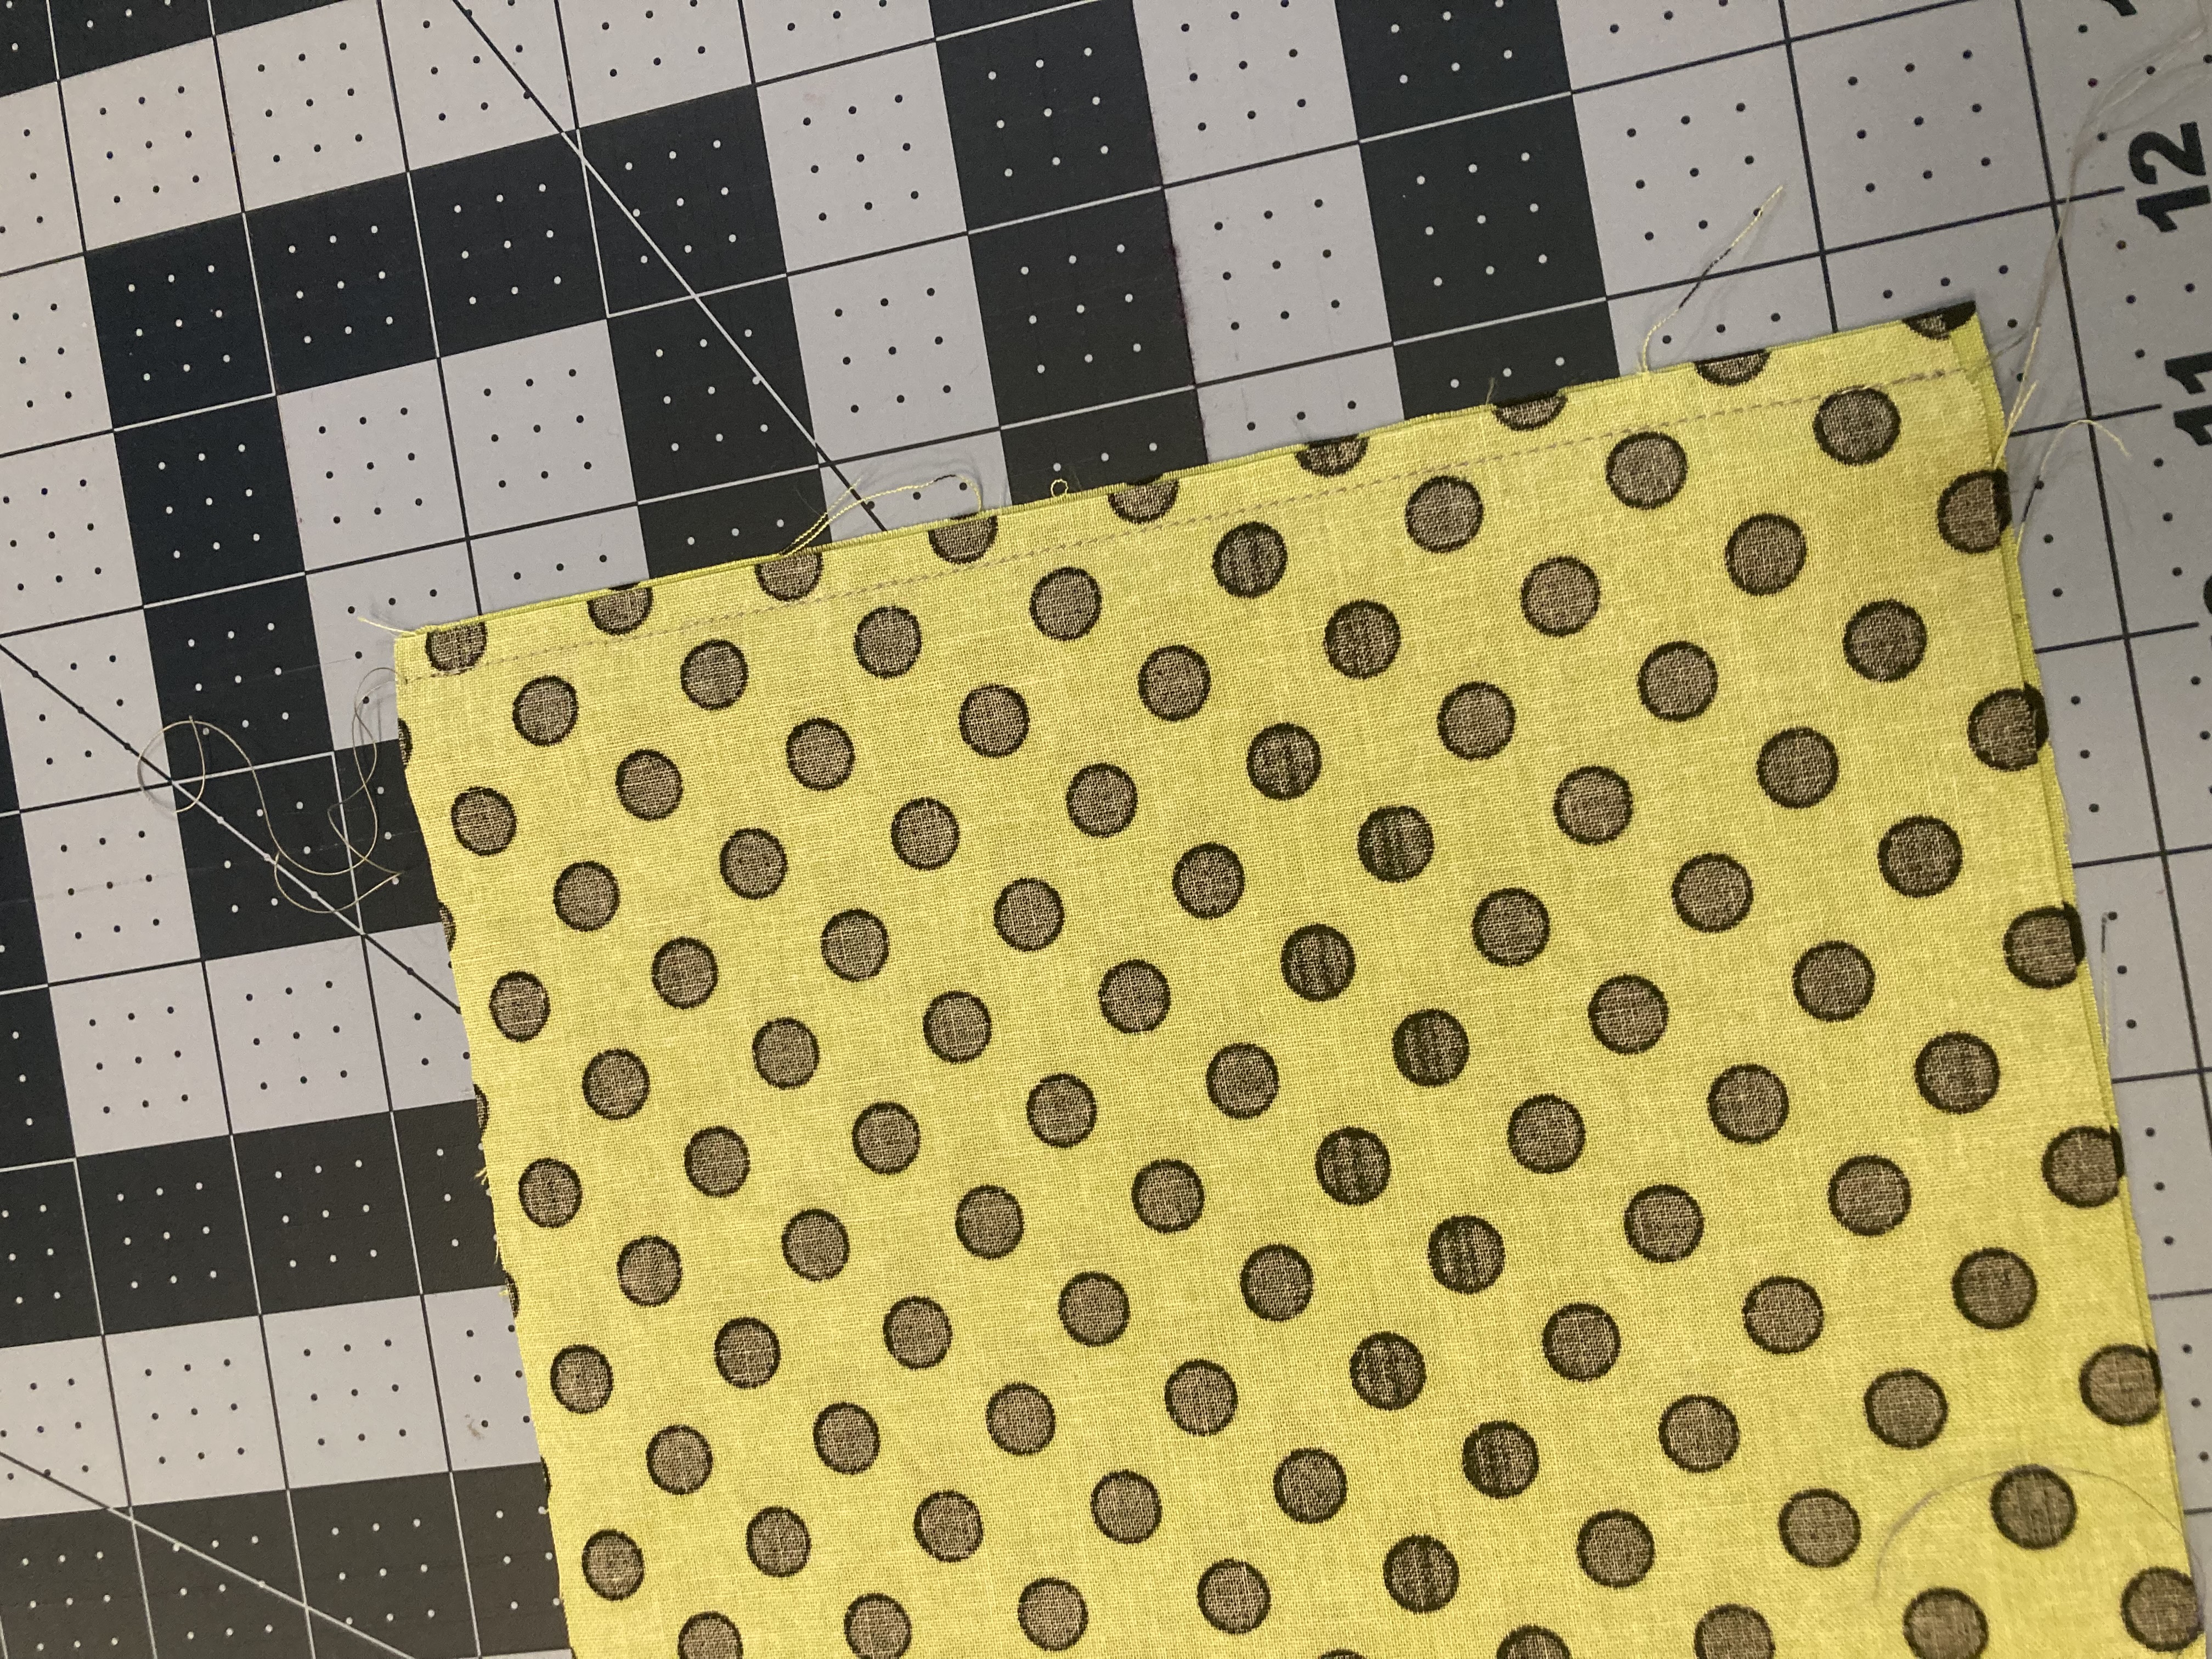
Step 1: Cut fabric to your desired size. You’ll be folding it hamburger style, so be sure to double the width you want to end up with. Ours ended up being about 18 inches long by 8 inches tall.
Step 2: With right sides facing, fold the fabric in half along the short side. Sew closed using ¼ seam. Press the seam open.
Step 3: Using a needle and thread, sew a loose running stitch about ¼ inch from the top edge all the way around.
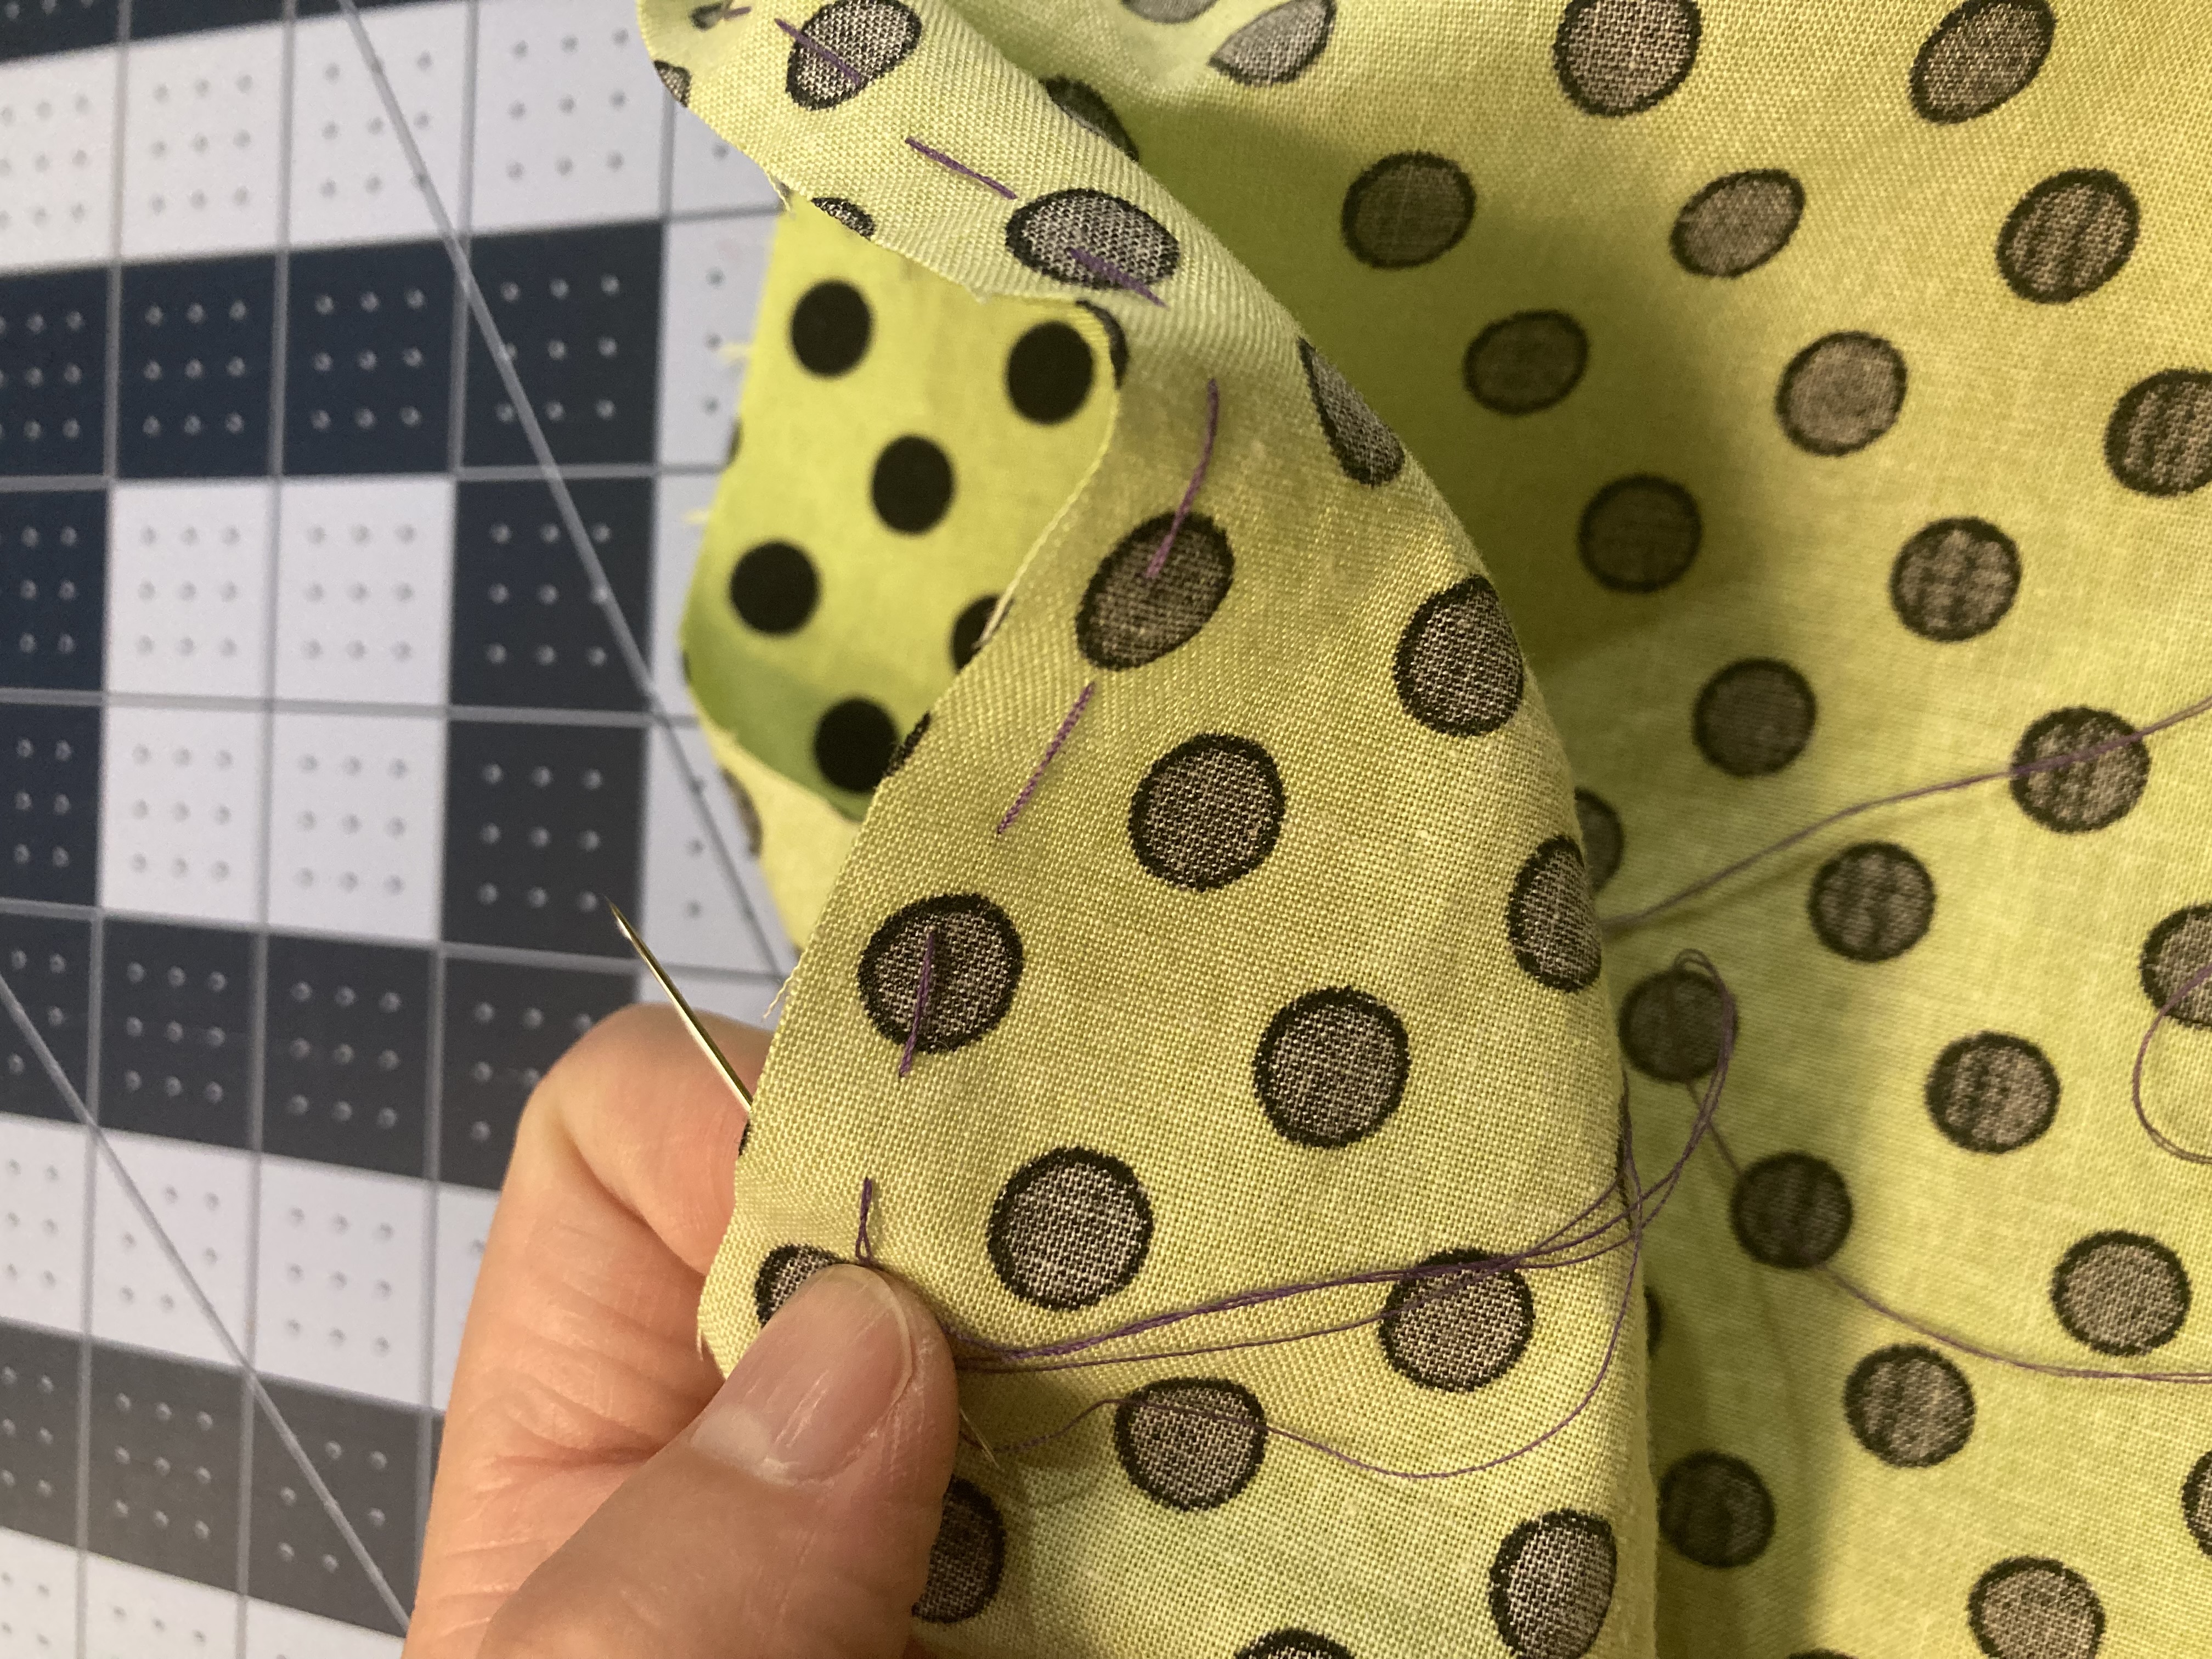
Step 4: Gently pull the thread to create gathers and close the opening. Stitch through the gathered fabric a few times, then tie off the thread.
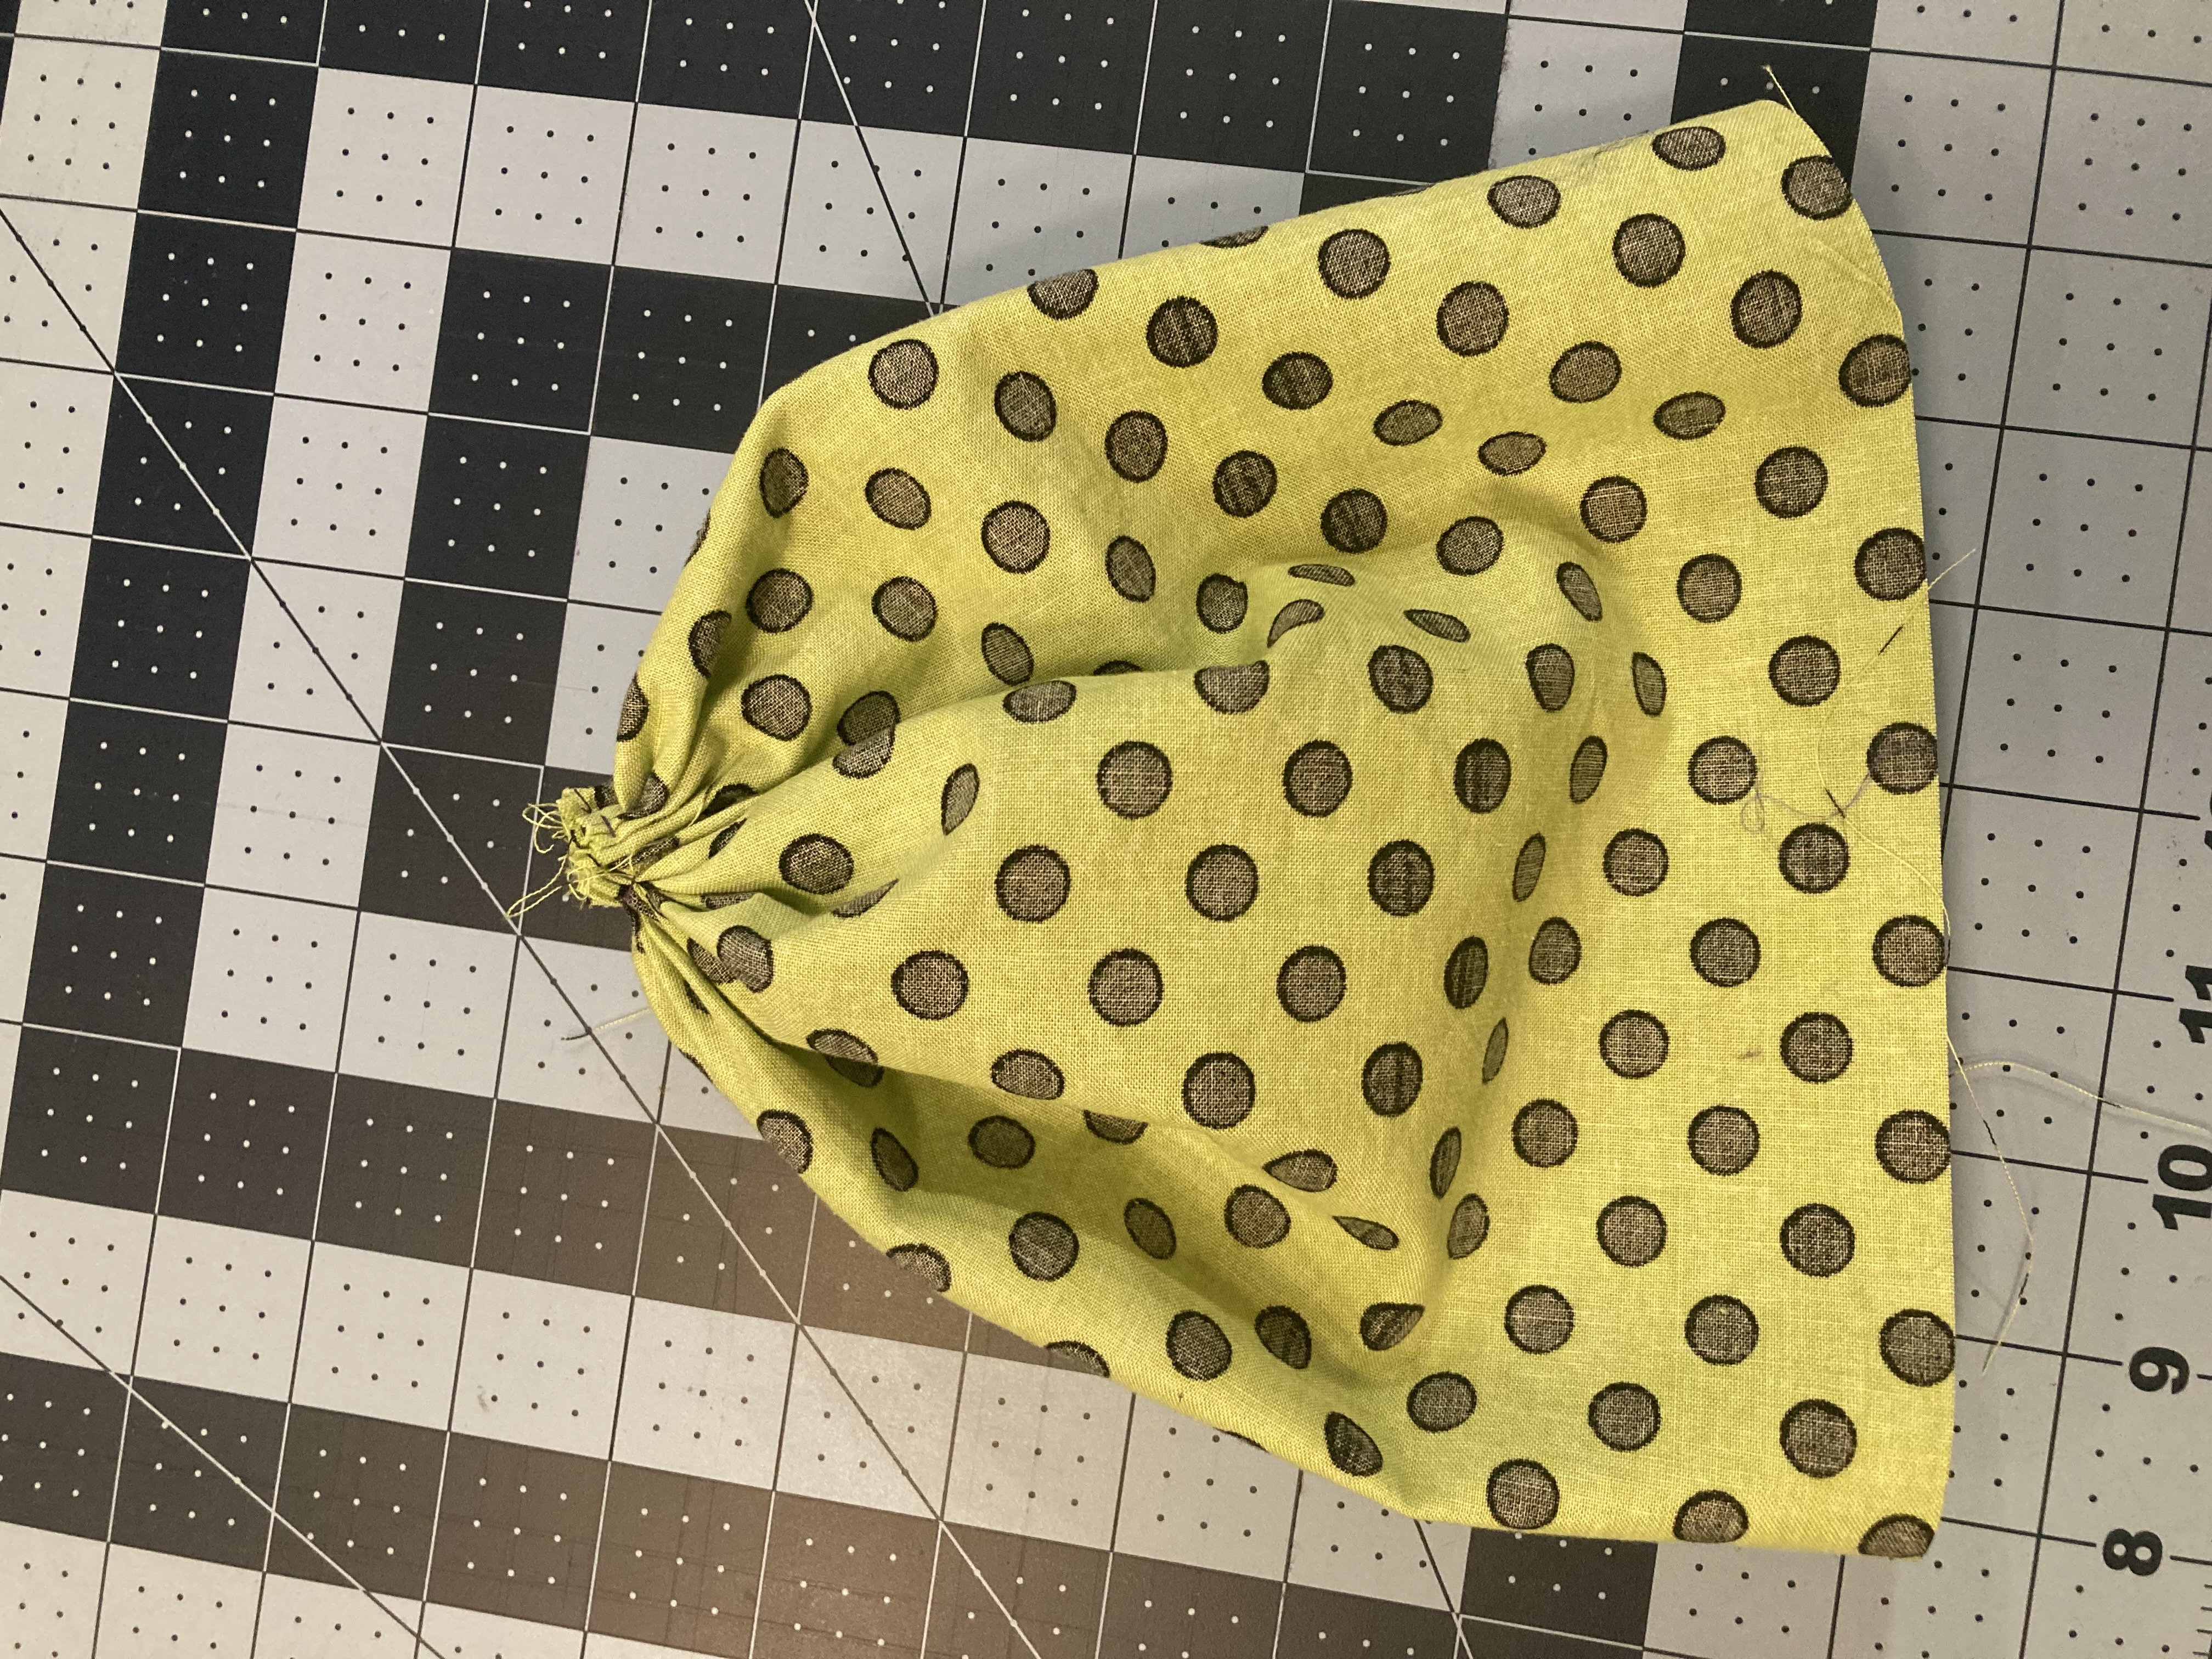
Step 5: Turn the fabric right side out and start to stuff your pumpkin. Fill as much as you can for a fluffy, full look.
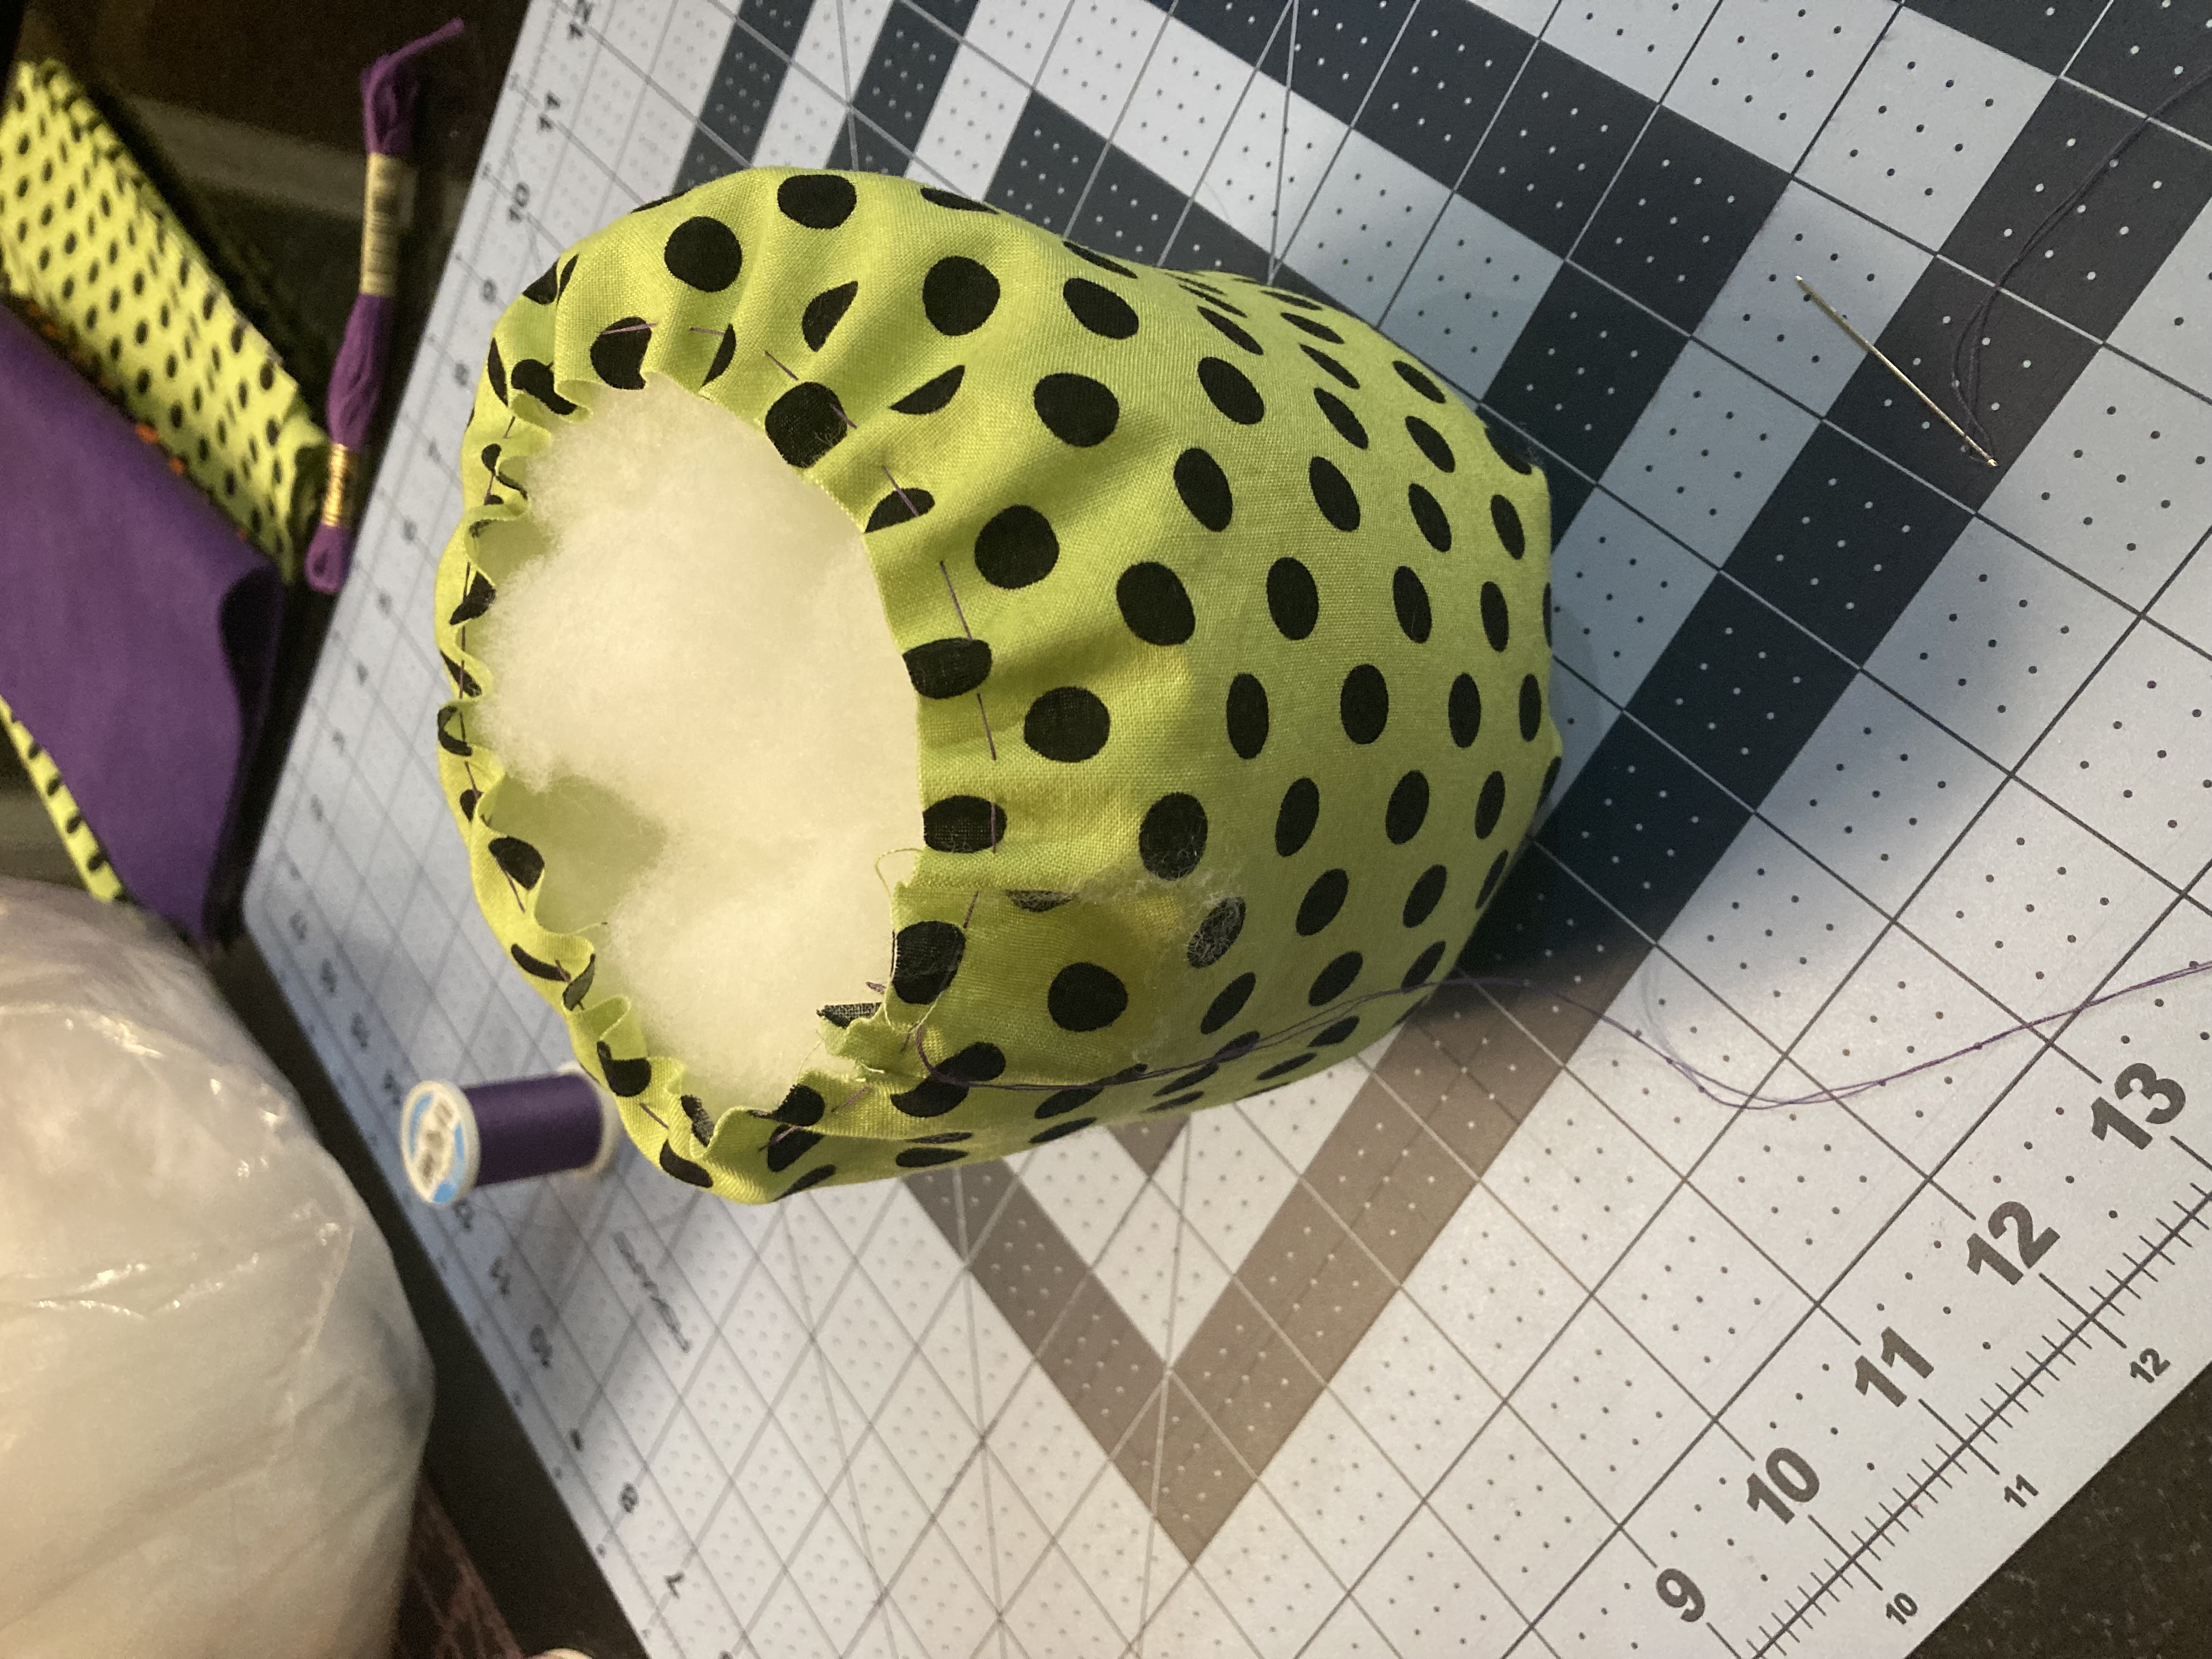
Step 6: Sew another running stitch along the top unfinished edge and close the pumpkin (see step 4).
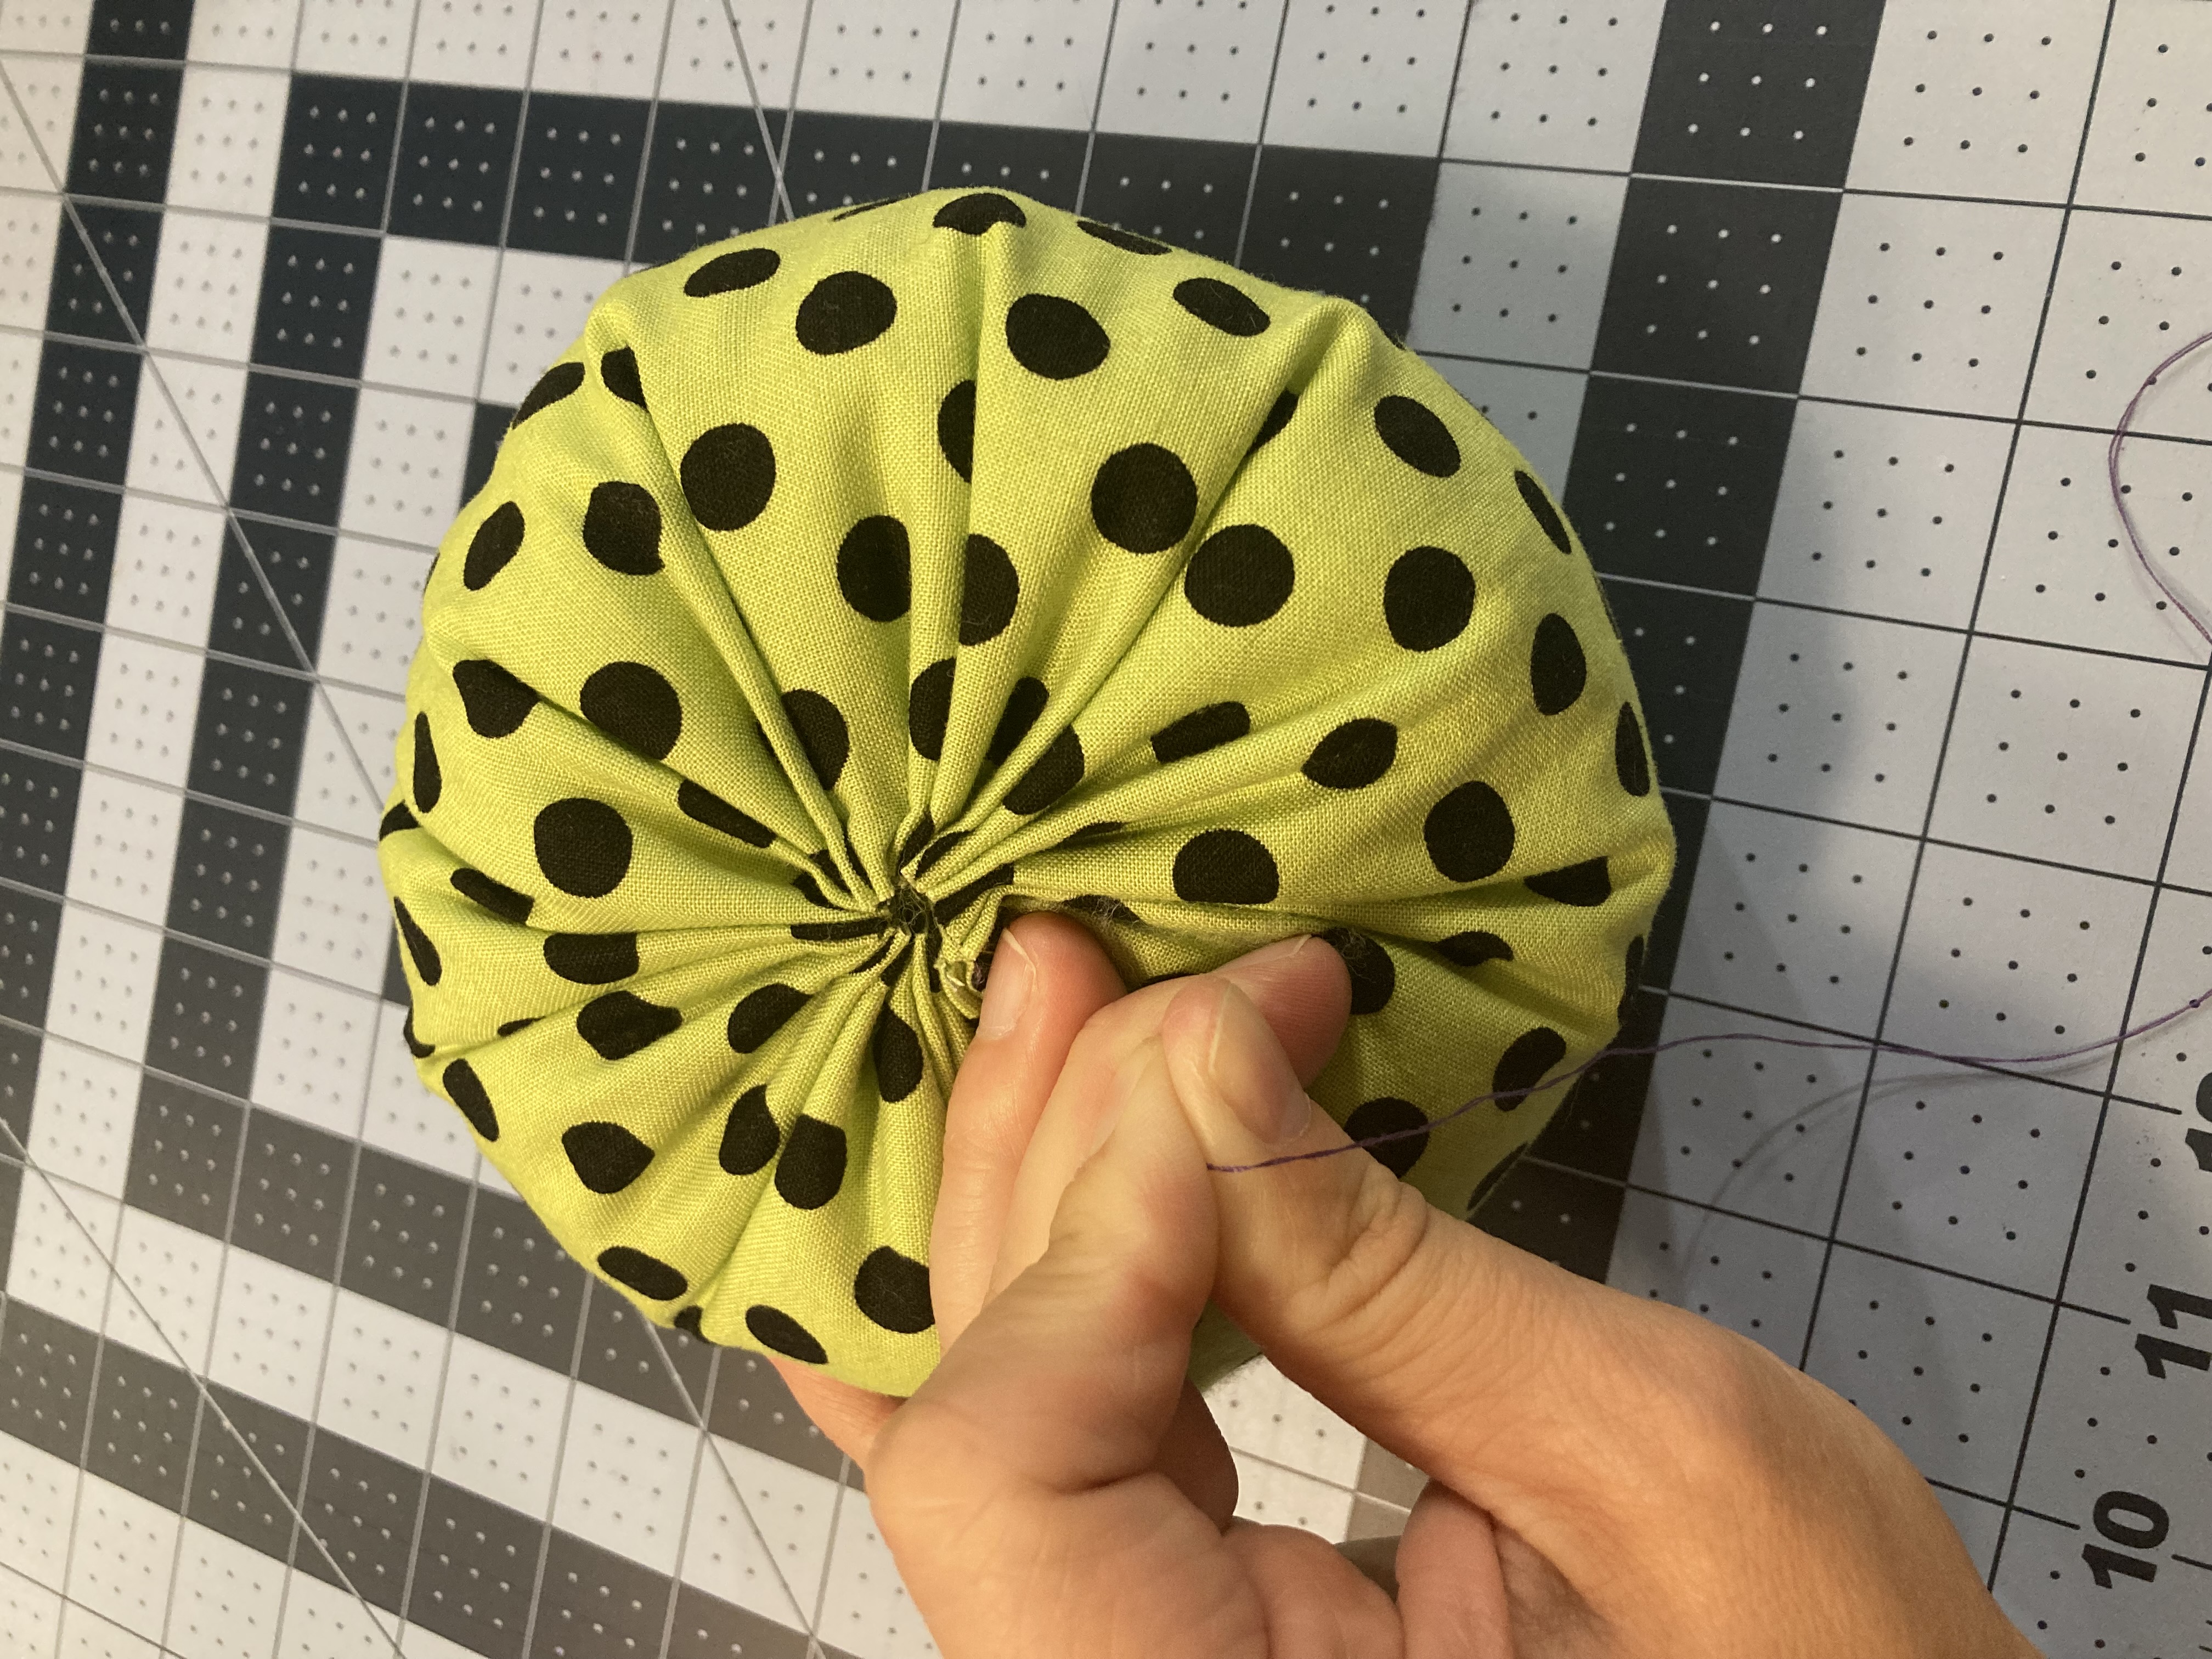
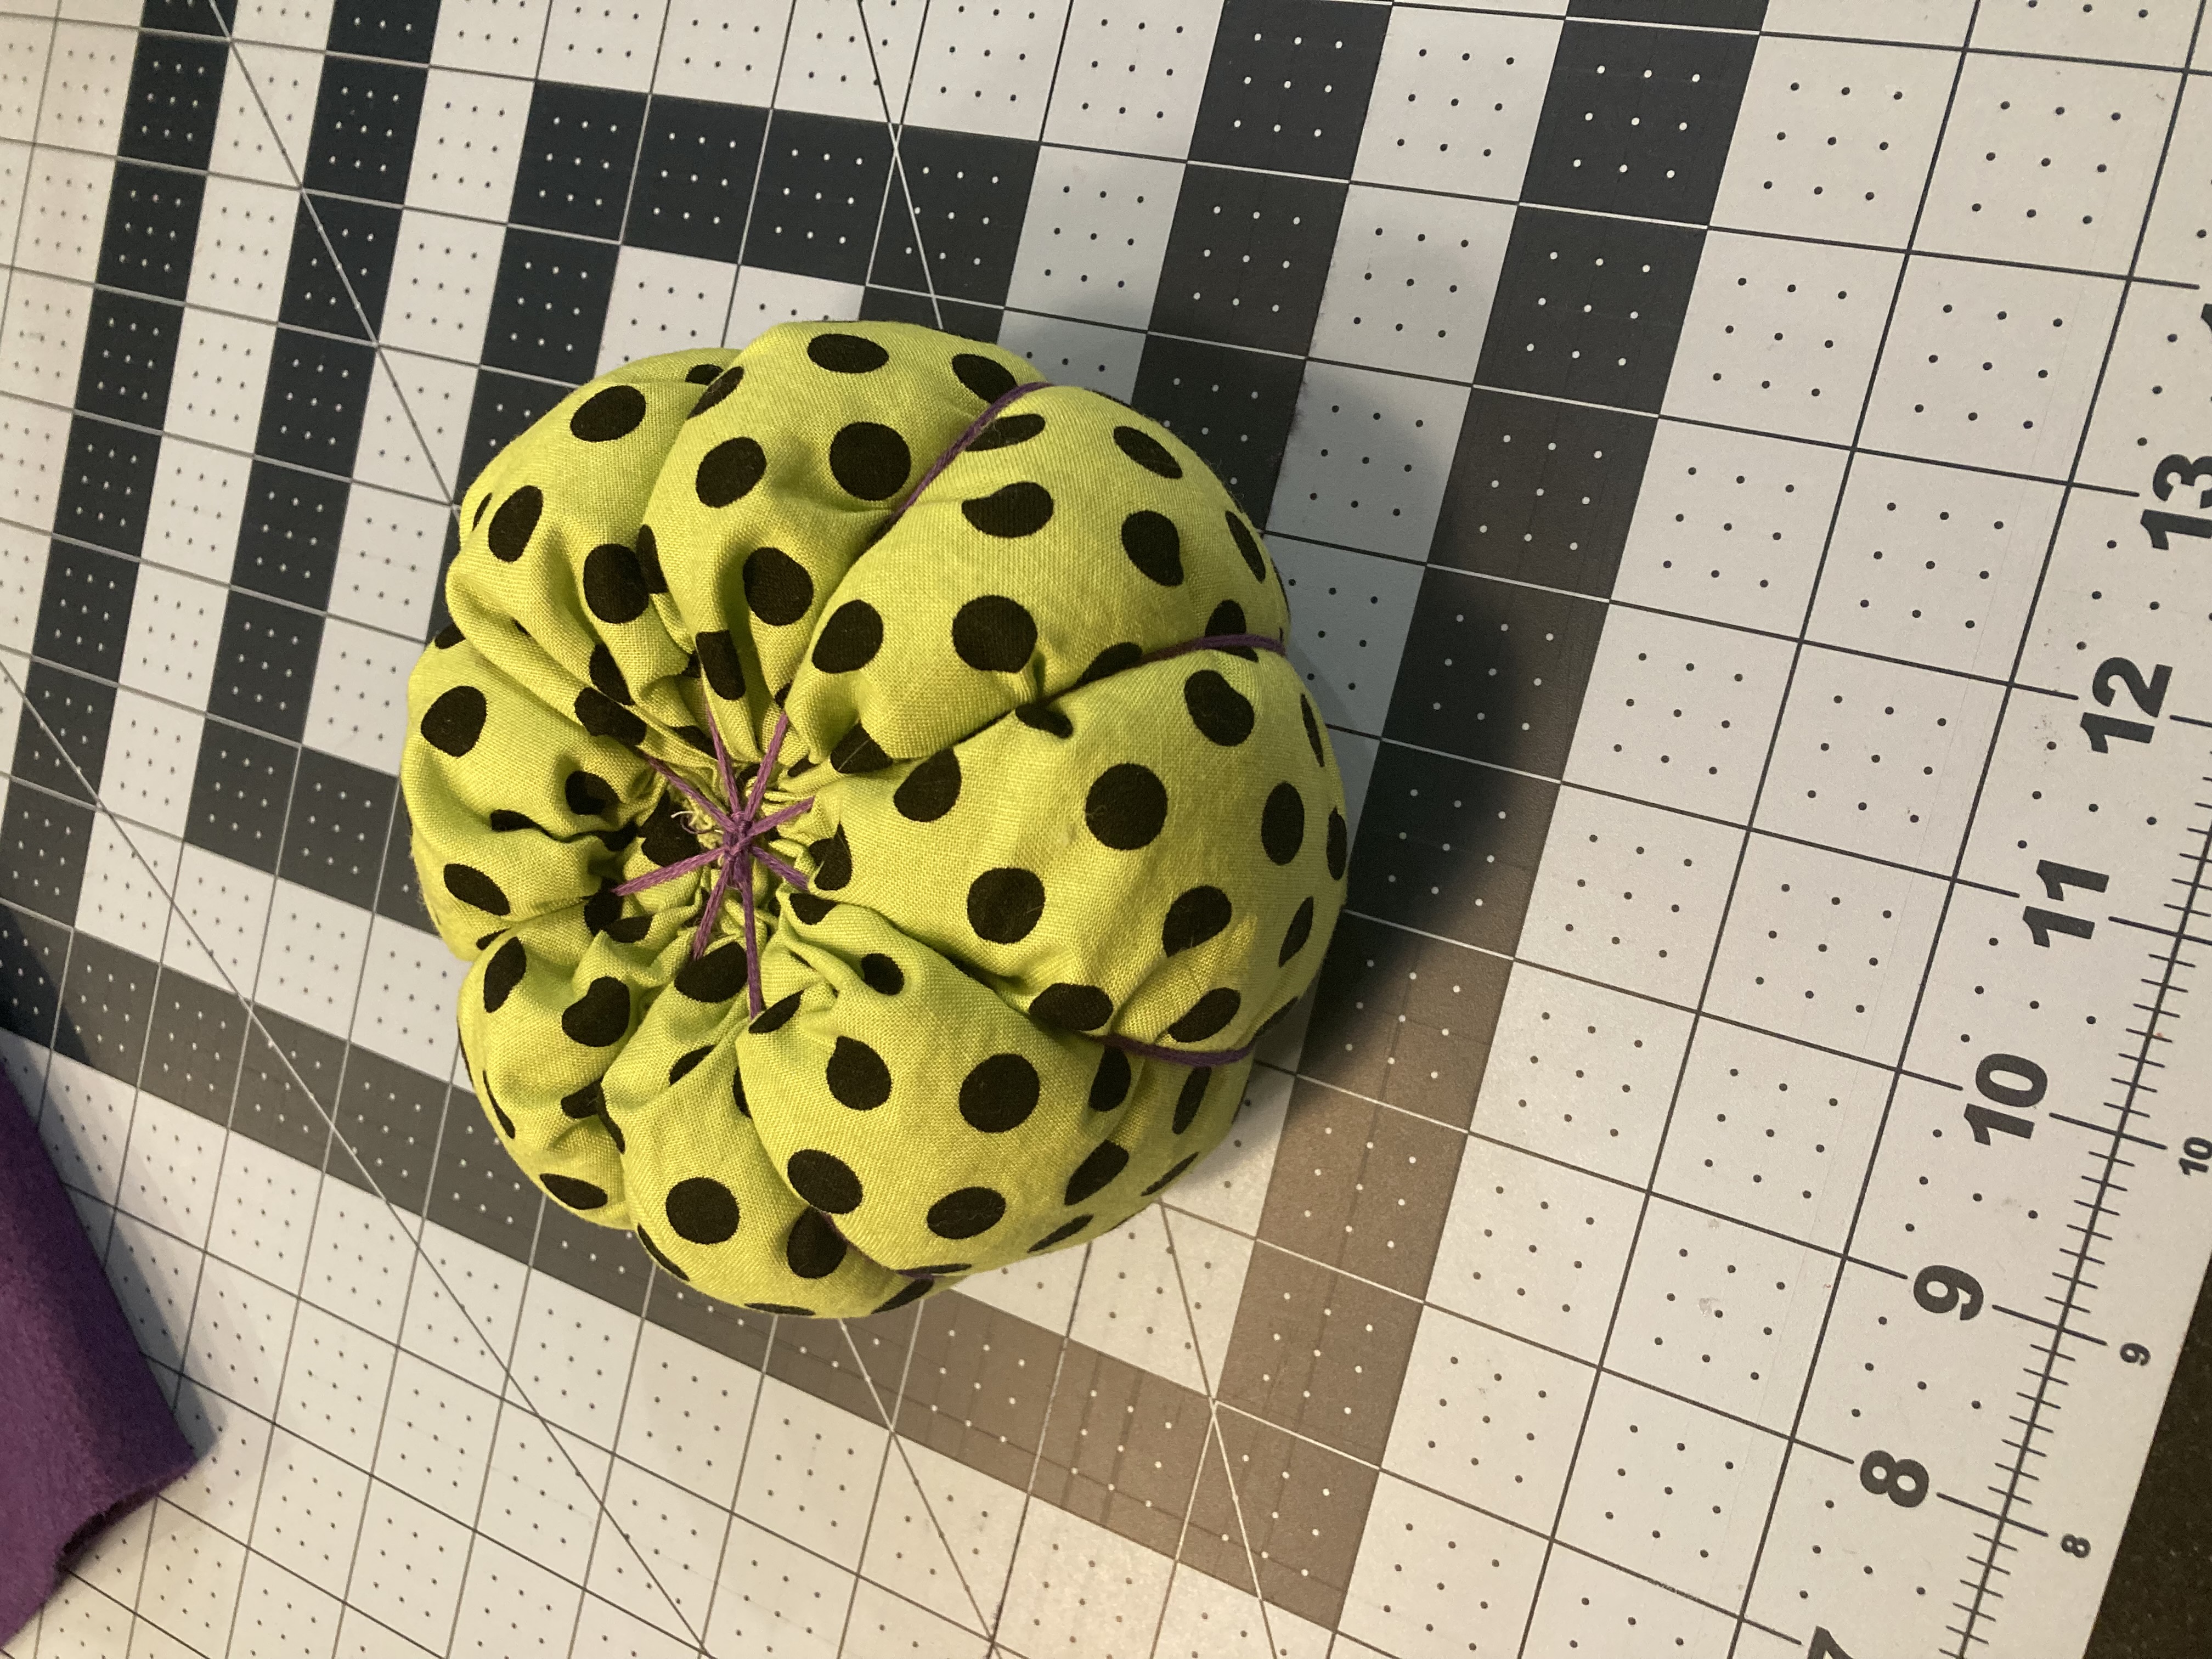
Step 7: To create the pumpkin segments, thread embroidery floss into a long needle. Push the needle through the bottom of the pumpkin and up through the top. Tightly pull the thread to the side, push your needle back up through the pumpkin and repeat until all your sections have been created. Tie off your thread. And be careful not to poke yourself!
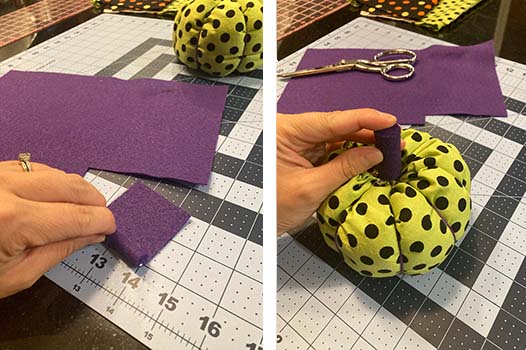
Step 8: Cut a rectangle of felt and roll it to create your pumpkin’s stem. Secure the roll with hot glue, then place a generous blob of hot glue on the bottom of your felt stem and place on top of your pumpkin.
Step 9: Embellish with ribbon and enjoy your new handmade décor!